Establishing a successful garden can be a challenge in many urban and rural areas. It can be especially difficult to find a site with proper soil conditions. Homes are not always built on soils with desirable agricultural characteristics, and many soils are adversely modified by home construction. Vegetable gardening is difficult at best under these conditions. Gardeners soon are discouraged by the difficulty of preparing an adequate seedbed; the soil dries slowly in the spring, and crusting, clods, and collapsed plants during the summer prevent the bountiful harvest promised by seed catalogs.
For centuries, crops in many parts of the world have been produced on modified soils in elevated growing areas between walkways. This “raised bed” technique has been adapted to smaller areas and can be a viable solution to the problems of poor soil conditions. Raised beds filled with a high-quality soil mix are also a good alternative for sites with heavy metal or other soil contamination.
Raised beds can simply be shaped soil mounds, or framing material can be used to contain the soil. There are pros and cons to each type. Unframed beds are less expensive but the mounds are prone to erosion and take up a larger footprint. Framed raised beds are more space efficient but require additional material and labor.
For both types of raised bed, additional soil or organic material will be needed. Substantial quantities are required, so the soil or organic matter should be readily available and relatively inexpensive. Some options include native soil moved from other areas of the garden or bulk soil mixes purchased from garden centers or landscape supply companies. If your native soil is heavy and slow-draining, incorporate organic matter, such as finished home compost, purchased compost, composted leaves (leaf mold), or well-composted animal manures mixed with bedding material.
Preparing mounded raised beds (unframed)
Unframed raised beds usually require a great deal of spading, sometimes over a number of years. But the following method permits good garden production in the first year after a relatively simple soil modification process.
- If the soil is compacted, an initial rototilling is helpful, even if only 2 or 3 inches deep. Do not rush this step; wait until the soil is dry enough to crumble easily and not turn up in large chunks.
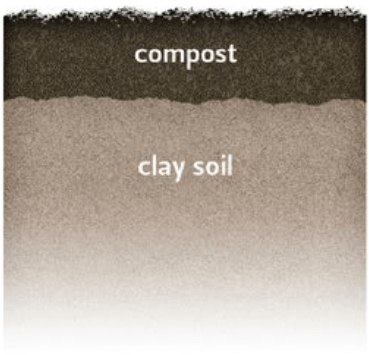
- To create a mound, you will need to add additional soil and/or organic material. Spread a 2- to 3-inch layer of organic material over the soil surface. A cubic yard will cover 162 square feet 2 inches deep, so you will need 6 to 7 cubic yards per 1,000 square feet. Another option is to shovel the walkway area (14 to 16 inches wide is common) to a depth of 6 inches. Add the excavated soil to the top of the beds. Unless you use a composted product, a mixture that contains composted manure, or a commercially fortified planting mix, you will need to supply additional nitrogen fertilizer. A soil test is recommended to ensure that there are adequate nutrient levels.
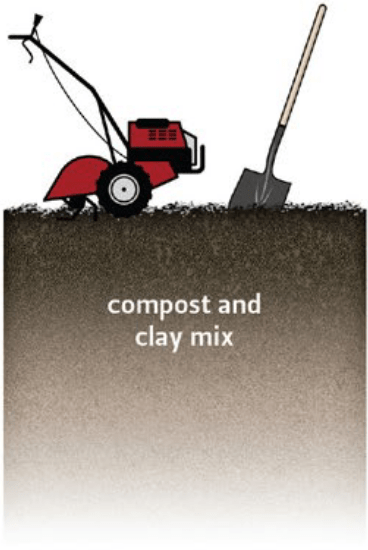
- Rototill to a depth of about 6 inches to mix in the organic matter, soil, and fertilizer. Spading accomplishes the same objective, but using a tiller makes the job less backbreaking and the results more uniform, especially in heavy clay soil.
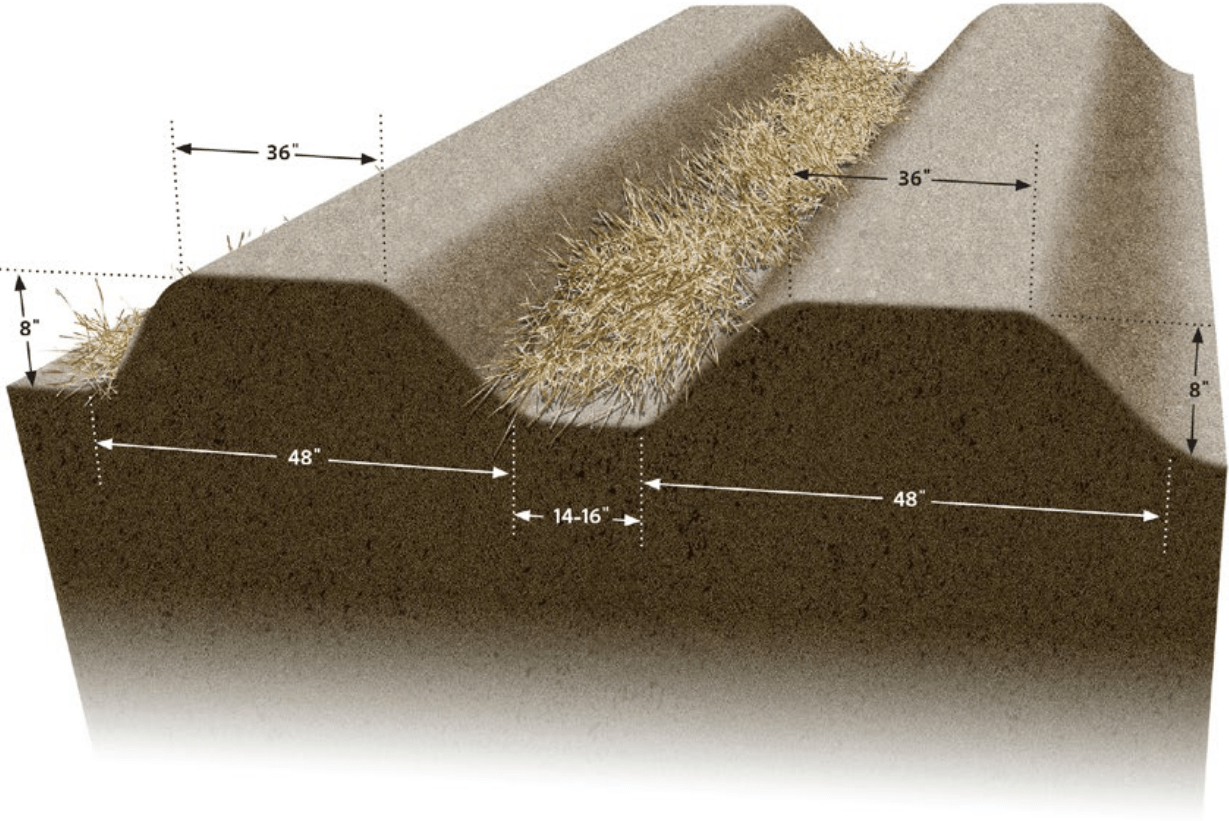
- Use a shovel and rake to shape beds (48 inches wide is common, but choose a width that provides easy access to the center of the bed). This creates a soil-and-organic mix about 8 inches deep, sufficient for adequate rooting of most vegetable plants. When the elevated area is raked level, the natural slope of the soil will leave about 36 inches of flat planting space on top of the 48-inch-wide bed.
Preparing framed raised beds
“Retaining walls” or framed raised beds are useful to create special shapes, to create accessible garden beds, and for more efficient use of space compared to unframed beds.
First, determine your needs. How tall and wide would you like the beds to be? Make sure you can easily access the plants at the center of the bed. A maximum width of 4 feet is a good choice for adult gardeners. Does the bed need to be accessible to children or to individuals with limited mobility? When choosing a framing material, consider your end use. For edible crops, like vegetables, choose a material that won’t leach chemicals into the soil (avoid railroad ties and older, pressure-treated wood that may contain creosote or other chemicals). Cedar or redwood are more expensive but are a long-lasting, safe choice. Concrete blocks or rocks can also be used.


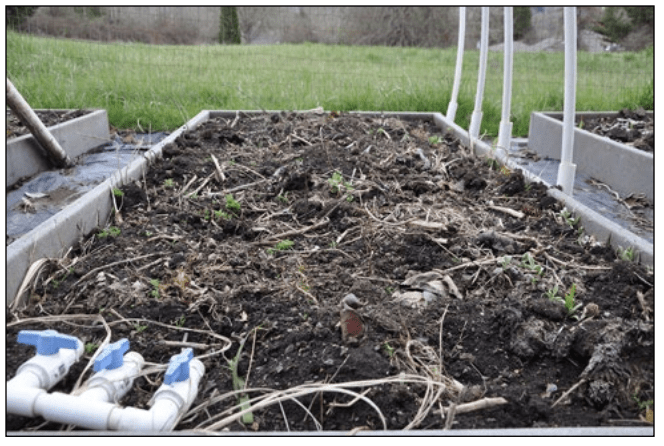
Next, consider your site and plan the beds. Framed raised beds can be placed closer together than unframed beds, but you will still need to incorporate walkways. Think about the type of equipment you need to move between beds; for example, will your wheelbarrow fit? Consider your plans for watering the beds. Setting up inline irrigation systems is easiest at this step because they may require water lines to be placed in the bed before it is filled with soil. And consider site preparation where the bed will be located. If there is existing heavy vegetation, it is best to remove it. One way to do this is by physically removing the above-ground portion of the plants and digging out any large root masses.
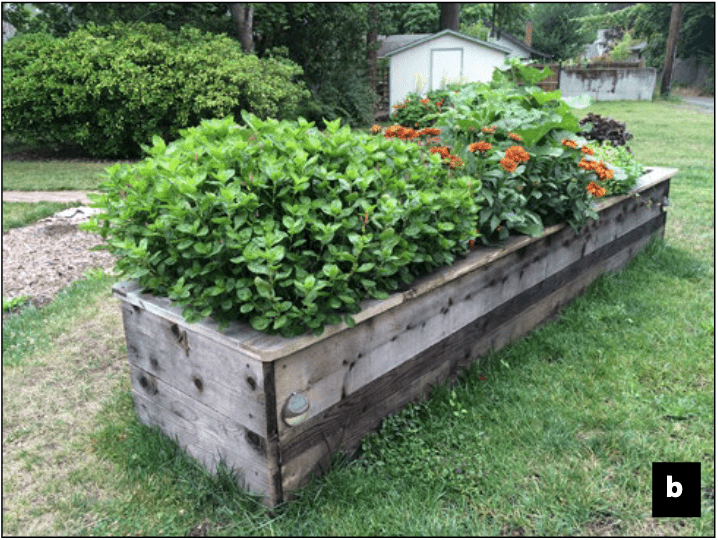
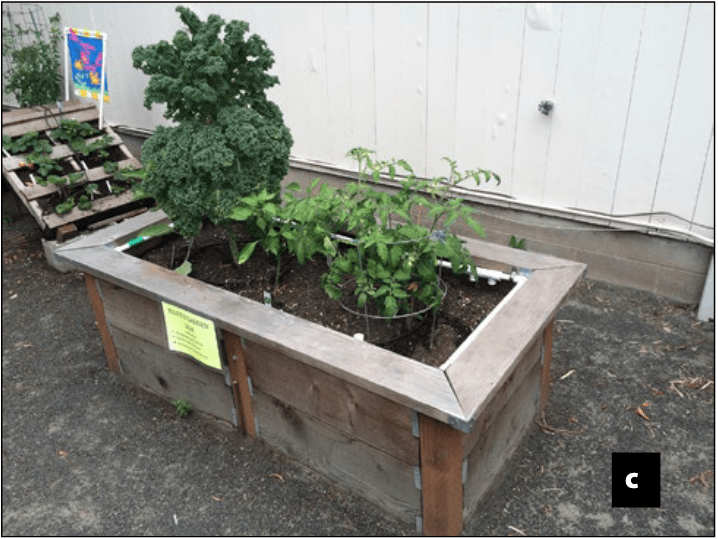
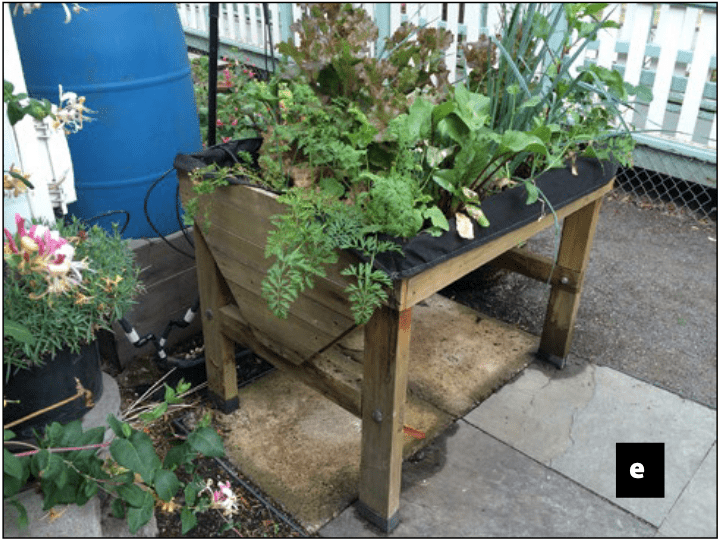
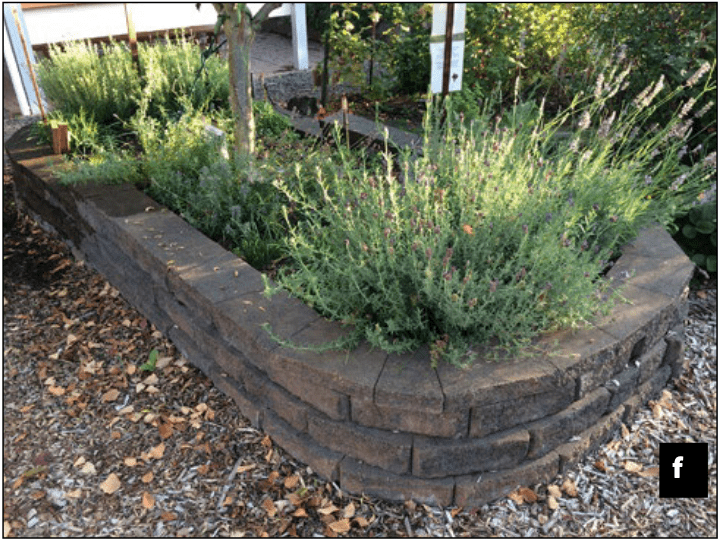
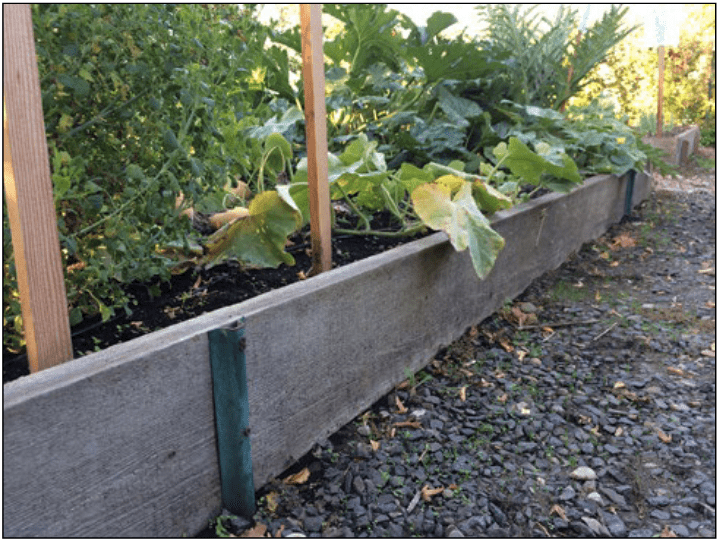
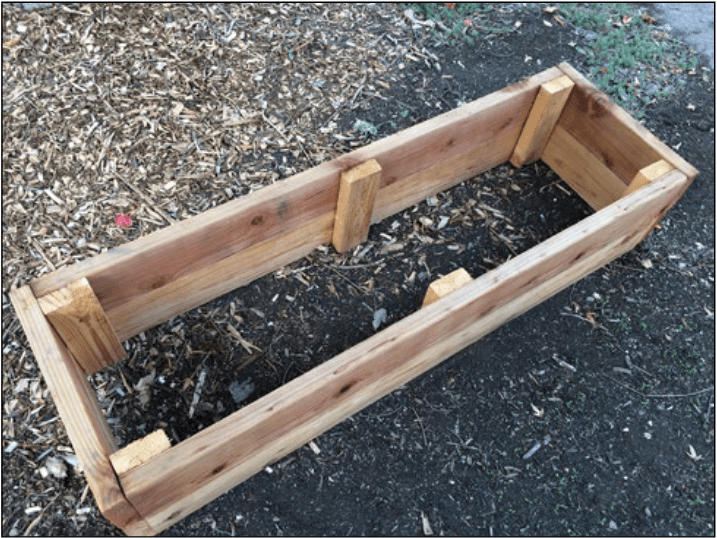
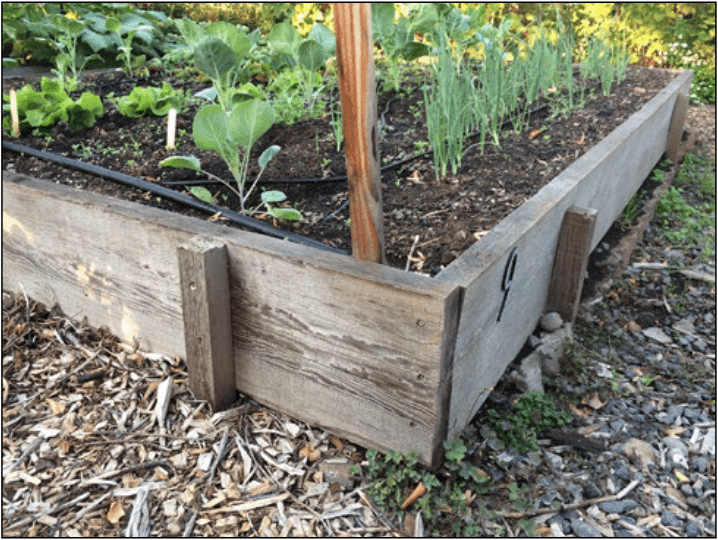
Then, mark out the area and build your raised bed. Framed beds can be as simple or decorative as you wish (see Figure 2 for examples of typical raised beds). Keep in mind that the framing material will need to support the weight of soil, plants, and irrigation water. Beds that are longer than 6 feet or taller than about 18 inches should be reinforced (with cross cable, anchored stakes, or other mechanisms) to help prevent the weight of the soil from pushing the boards outwards (Figure. 3).
The next step is to fill your raised bed. Purchase or prepare a soil mix with high organic matter. When using a soil mix, good landscaping companies offer separate mixes for different uses, e.g., one with coarser soil may work well for a lawn but not for a raised vegetable bed. Choose a mix that has good nutrient and water-holding capacity. If the framing material is sitting on top of the native soil, then first dig down or rototill at least 6 inches and mix the native soil into the soil mix as you fill the bed. Called “double digging,” this is optional but will loosen the soil for deeper plant root growth. A soil test is recommended so that you can properly adjust the nutrient level and add supplemental fertilization if needed.
Caring for plants in raised beds
Whether you use organic or synthetic fertilizer, keep in mind that if you are using your raised beds for growing vegetables, these require a lot of nutrients. They grow rapidly, producing an entire plant and crop for harvest in only 25 to 100 days. Be sure you apply enough nitrogen, phosphate, and potash to feed the plants properly. Pale green plants craving nitrogen probably will appear more often in raised beds than in conventional gardens. Add nitrogen as needed during the growing season.
Irrigate properly to keep plants growing. The mixture of soil and organic matter in raised beds dries faster than clay soil. On the other hand, the soil is loose, so it absorbs water faster. Soaker hoses or upside-down sprinkler hoses can be used to good advantage. With low pressure, they will apply water right where you want it along each row of plants.
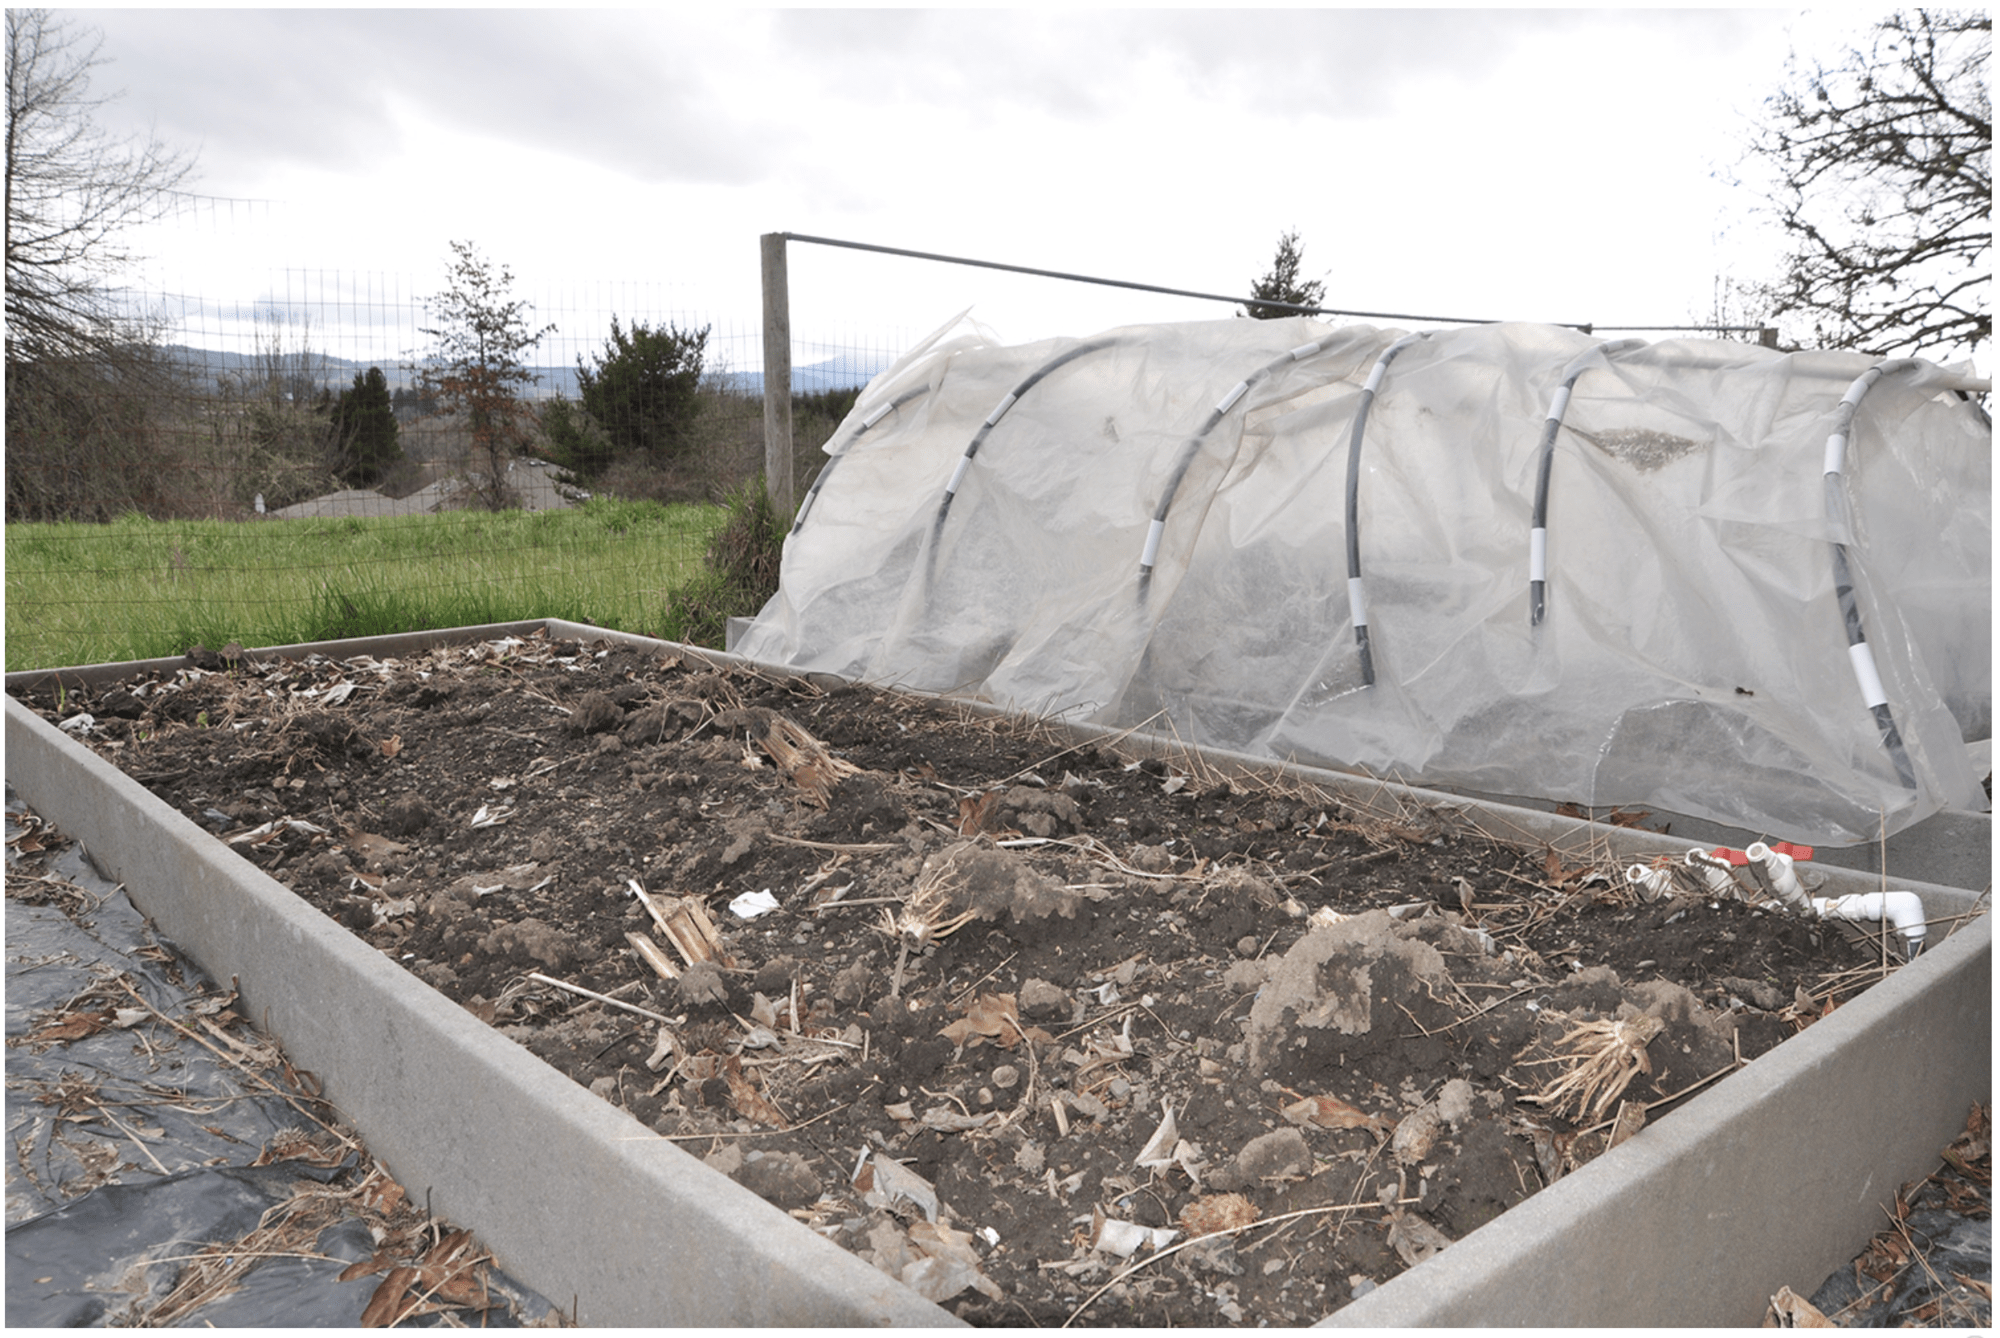
Keep in mind that raised beds will heat up and cool down more quickly compared to in-ground beds. For year-round gardeners and for those growing perennial vegetables, the higher the raised bed the more frost protection it will require during cool nights.
Maintaining the beds and walkways
Once the shaping or framing is finished, keep traffic in the paths and do not step in or otherwise compact your nicely prepared planting beds. Place stakes at the corners of unframed beds to prevent hose dragging from damaging plants and degrading the beds. Organic matter decomposes and disappears, so add more of it often. Use compost to provide nutrients during the summer. Cover the beds with 2 inches of leaves or other organic material each winter. This material will be pretty well decomposed by spring, and planting can proceed on schedule.
Keep the walkways as dry as possible to help control weeds. Add woodchips, bark or paving stones to the paths to prevent problems with mud. Another option is to fill the walkways with leaves when they are available. This will create a trench of composted material that you can rake up onto the beds later.
Once the beds have gone through the improvement process, rototilling should be unnecessary. Conditions may not be ideal yet in the first spring following bed construction, but light spading or forking will create a suitable seedbed.
As you keep adding more loosening material, you will be able to garden almost all year. Earlier planting will be possible because the improved drainage creates a better environment for plants. It also promotes faster warming of the soil and more rapid growth in the early season. At the end of the season, better drainage means healthier plants that will continue yielding longer. The walkways can provide better footing after rains begin. You are more likely to harvest cool-season crops with less mud to battle!
For more information
- Growing Your Own (EM 9027).
- Sustainable Gardening: The Oregon-Washington Master Gardener Handbook (EM 8742).
- A Guide to Collecting Soil Samples for Farms and Gardens (EC 628).
- Improving Garden Soils with Organic Matter (EC 1561).
- Fertilizing Your Garden: Vegetables, Fruits, and Ornamentals (EC 1503).
- How to Build Your Own Raised-Bed Cloche (EC 1627).
- Fall and Winter Vegetable Gardening in the Pacific Northwest (PNW 548).
- Cover Crops for Home Gardens (FS 304).
¡Use los pesticidas con seguridad!
- Póngase ropa de protección y equipo de seguridad según las recomendaciones de la etiqueta. Báñese después de cada uso.
- Lea la etiqueta del pesticida—aunque lo haya usado antes. Siga al pie de la letra las indicaciones de la etiqueta (y cualquiera otra indicación que Ud. tenga).
- Tenga precaución al aplicar los pesticidas. Conozca su responsabilidad legal como aplicador de pesticidas. Usted puede ser responsable de heridas o daños resultantes del uso de un pesticida.