Complying with Oregon’s Farm Direct Marketing Law
What does the law do?
Oregon’s 2023 Farm Direct Marketing Law revision allows farmers to turn maple and walnut sap collected on their property into maple and walnut syrup and sell the finished product directly to consumers or through consignment sales without a state-issued food processing license.

The legal wording
“Tree-sap-based solid sugar, cream and liquid syrup products that are made by heating sap from trees of the genera Acer or Juglans and have a solids content of not less than 66% by weight, or 66 degrees Brix, and not combined with other ingredients.”
Simple translation
Sap must be boiled until enough water has been removed to create a finished product that is at least 66° Brix. Degrees Brix is a measure of the concentration of dissolved solids like sugar and other nutrients in maple sap (for example, calcium, potassium, magnesium, manganese, riboflavin, zinc). At 66° Brix you have syrup. Maple cream and maple sugar are made by removing even more water through boiling. Due to the very low water activity of maple syrup, cream and sugar, no pathogens grow in these products. Maple syrup is shelf-stable prior to opening because it can be hot-filled, which reduces oxygen in the package and prevents mold from growing. However, mold can grow on syrup after it is opened and exposed to air, so opened containers need to be refrigerated. Maple cream cannot be hot filled; therefore, mold is a problem for this product and refrigeration is required. Under Oregon’s Farm Direct law, maple and walnut syrups cannot be combined with other ingredients (that is, infusing syrup with vanilla beans is not allowed).
Oregon Department of Agriculture Administrative Rules. See “Resources” for specific ODA Farm Direct rules. Read them carefully and seek clarification from an ODA food safety official.
This guide uses bigleaf maple syrup as the example, but the process and equipment needed are the same for walnut syrup. To make cream or sugar, see “Resources.”
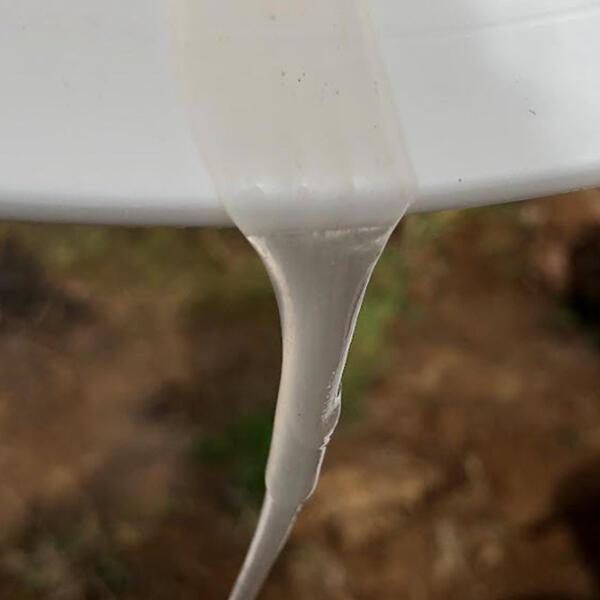
Collecting sap
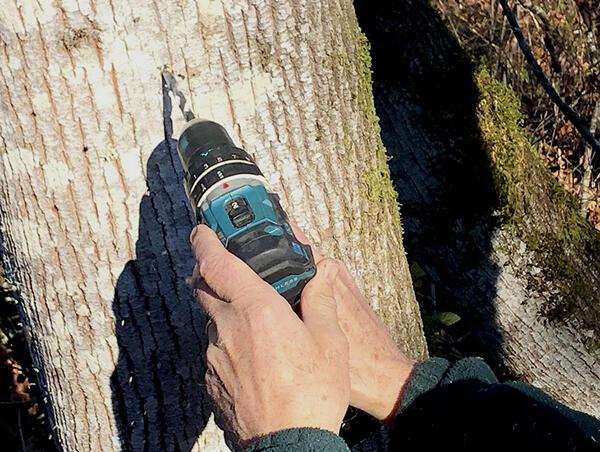
It all starts with tapping trees
Many variables can affect when you can start tapping and how much sap you will get from each tree. A wet summer and fall, followed by early freezing temperatures, seem to be helpful, but there is limited science on the relationship between weather conditions and sap yields. You will have to experiment and observe what happens year-to-year on your land. Keep a journal with climatic data for your area, methods you try and their outcomes, and general observations that might help you understand optimal sugaring practices on your land.
How many gallons of sap make a gallon of syrup?
It will take 90 gallons of bigleaf maple sap (1.25° Brix) to make 1 gallon of bigleaf maple syrup. Walnut sap is lower brix (0.75° Brix), so it will take more sap to make 1 gallon of walnut syrup.
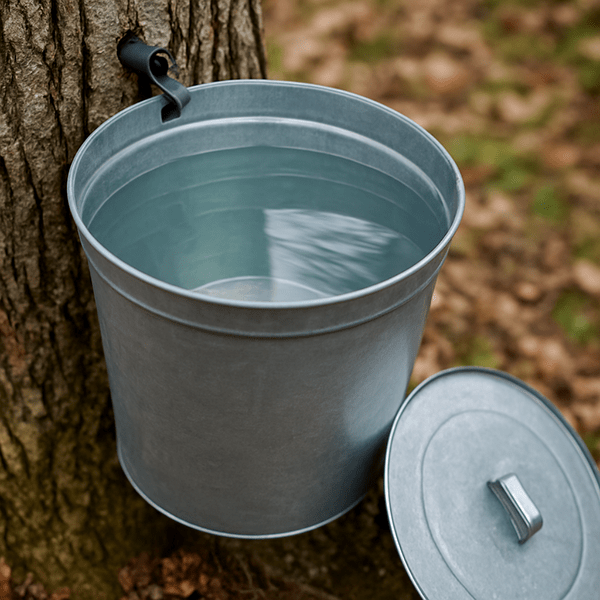
How much will it cost?
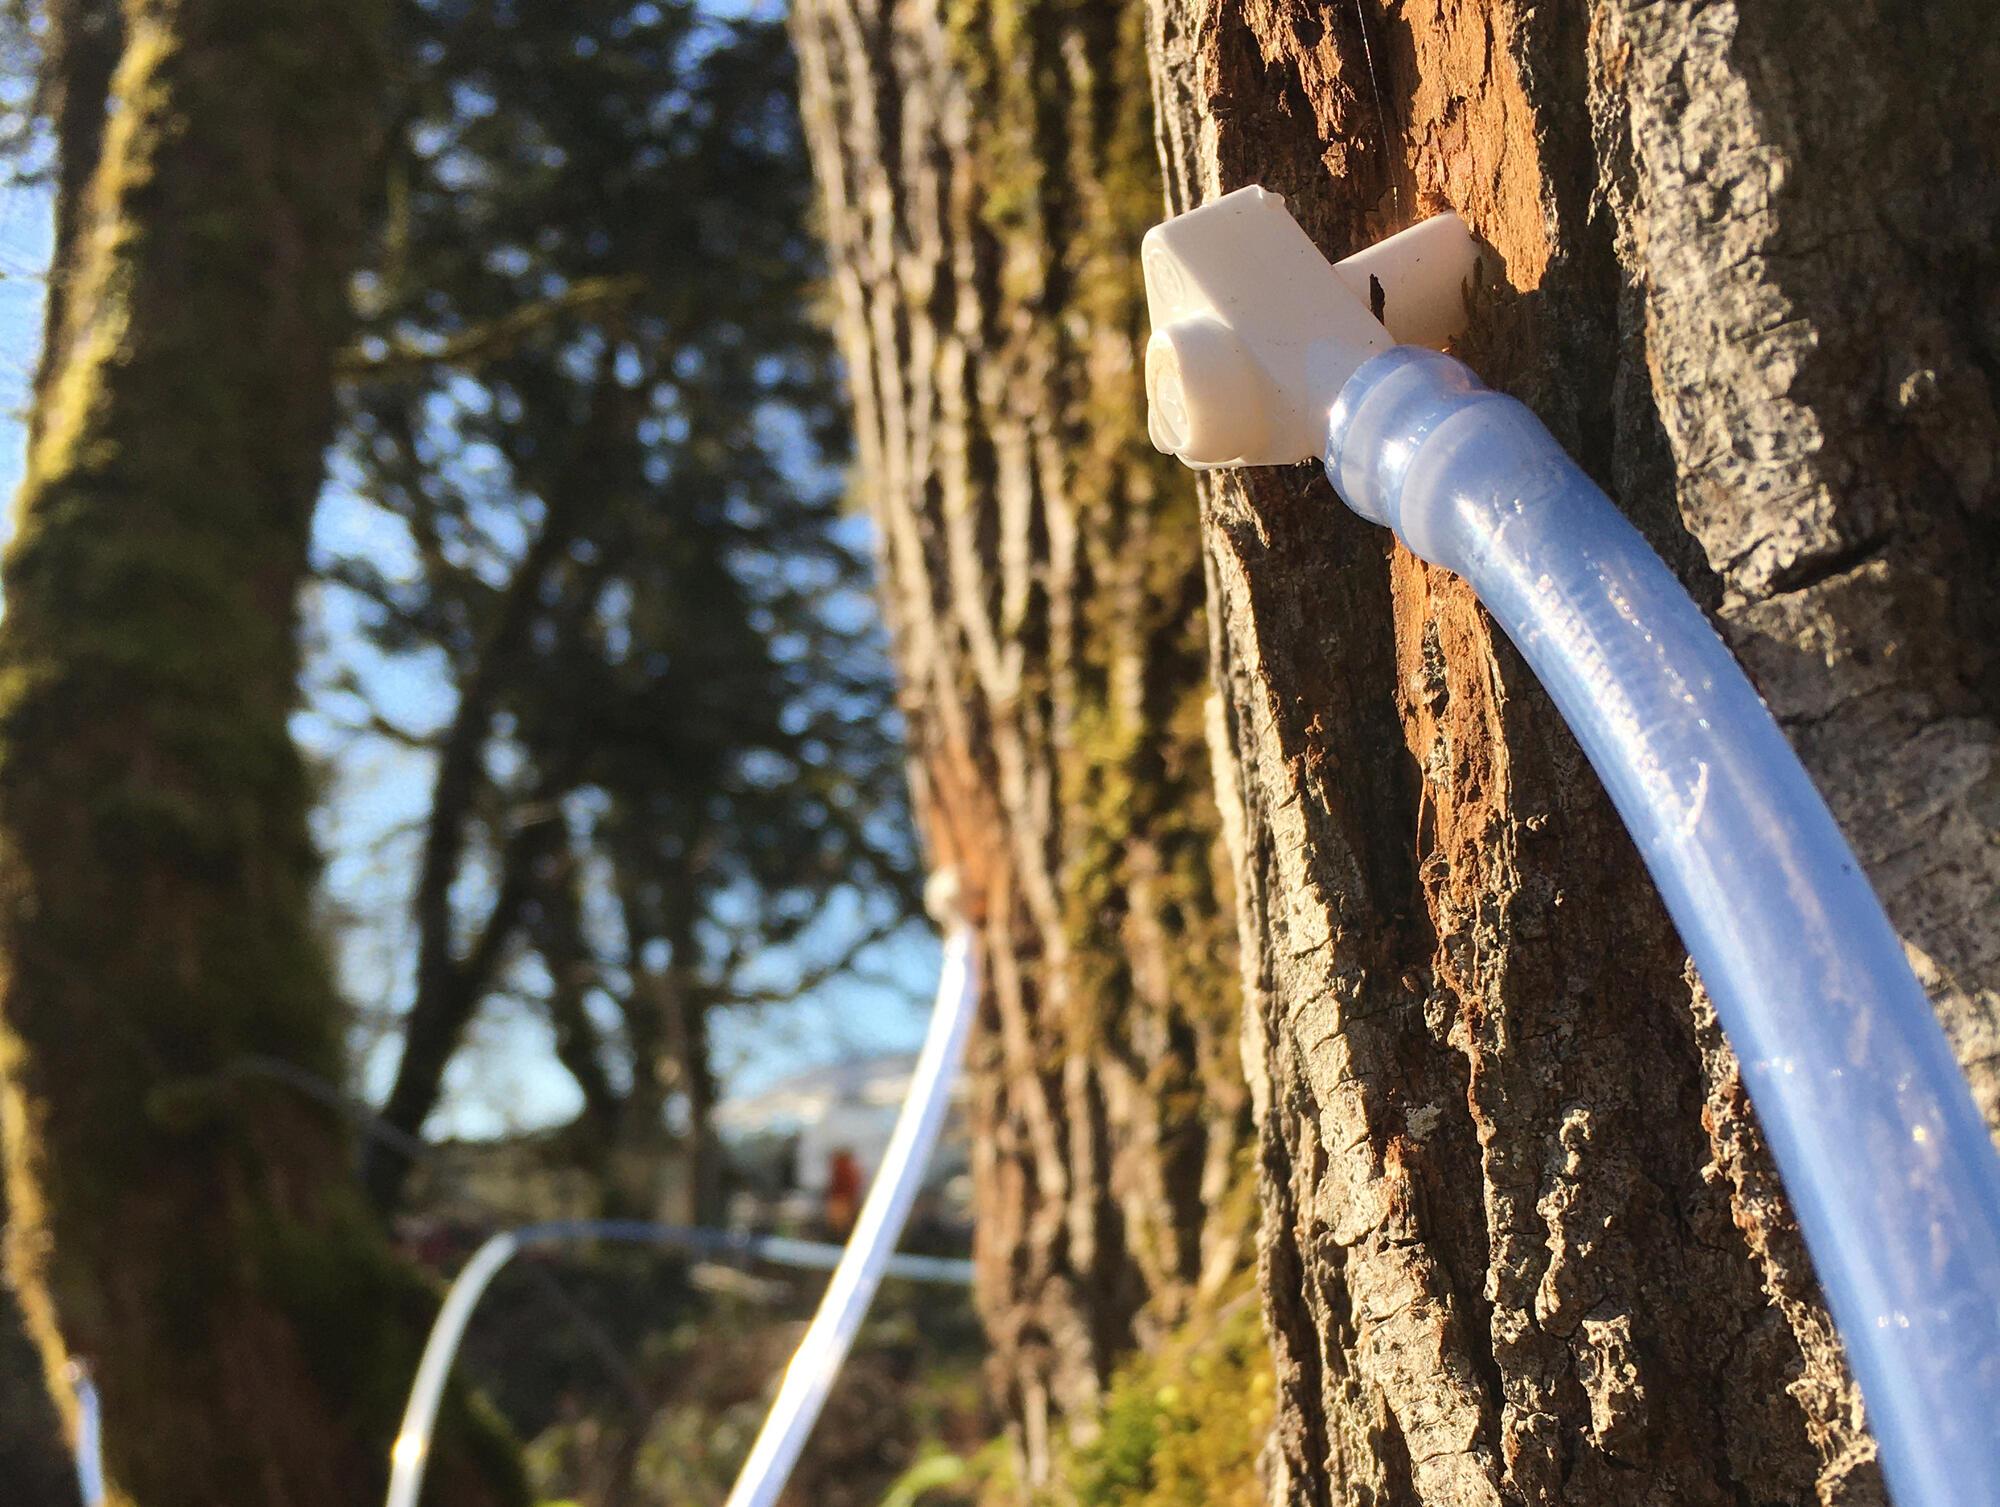
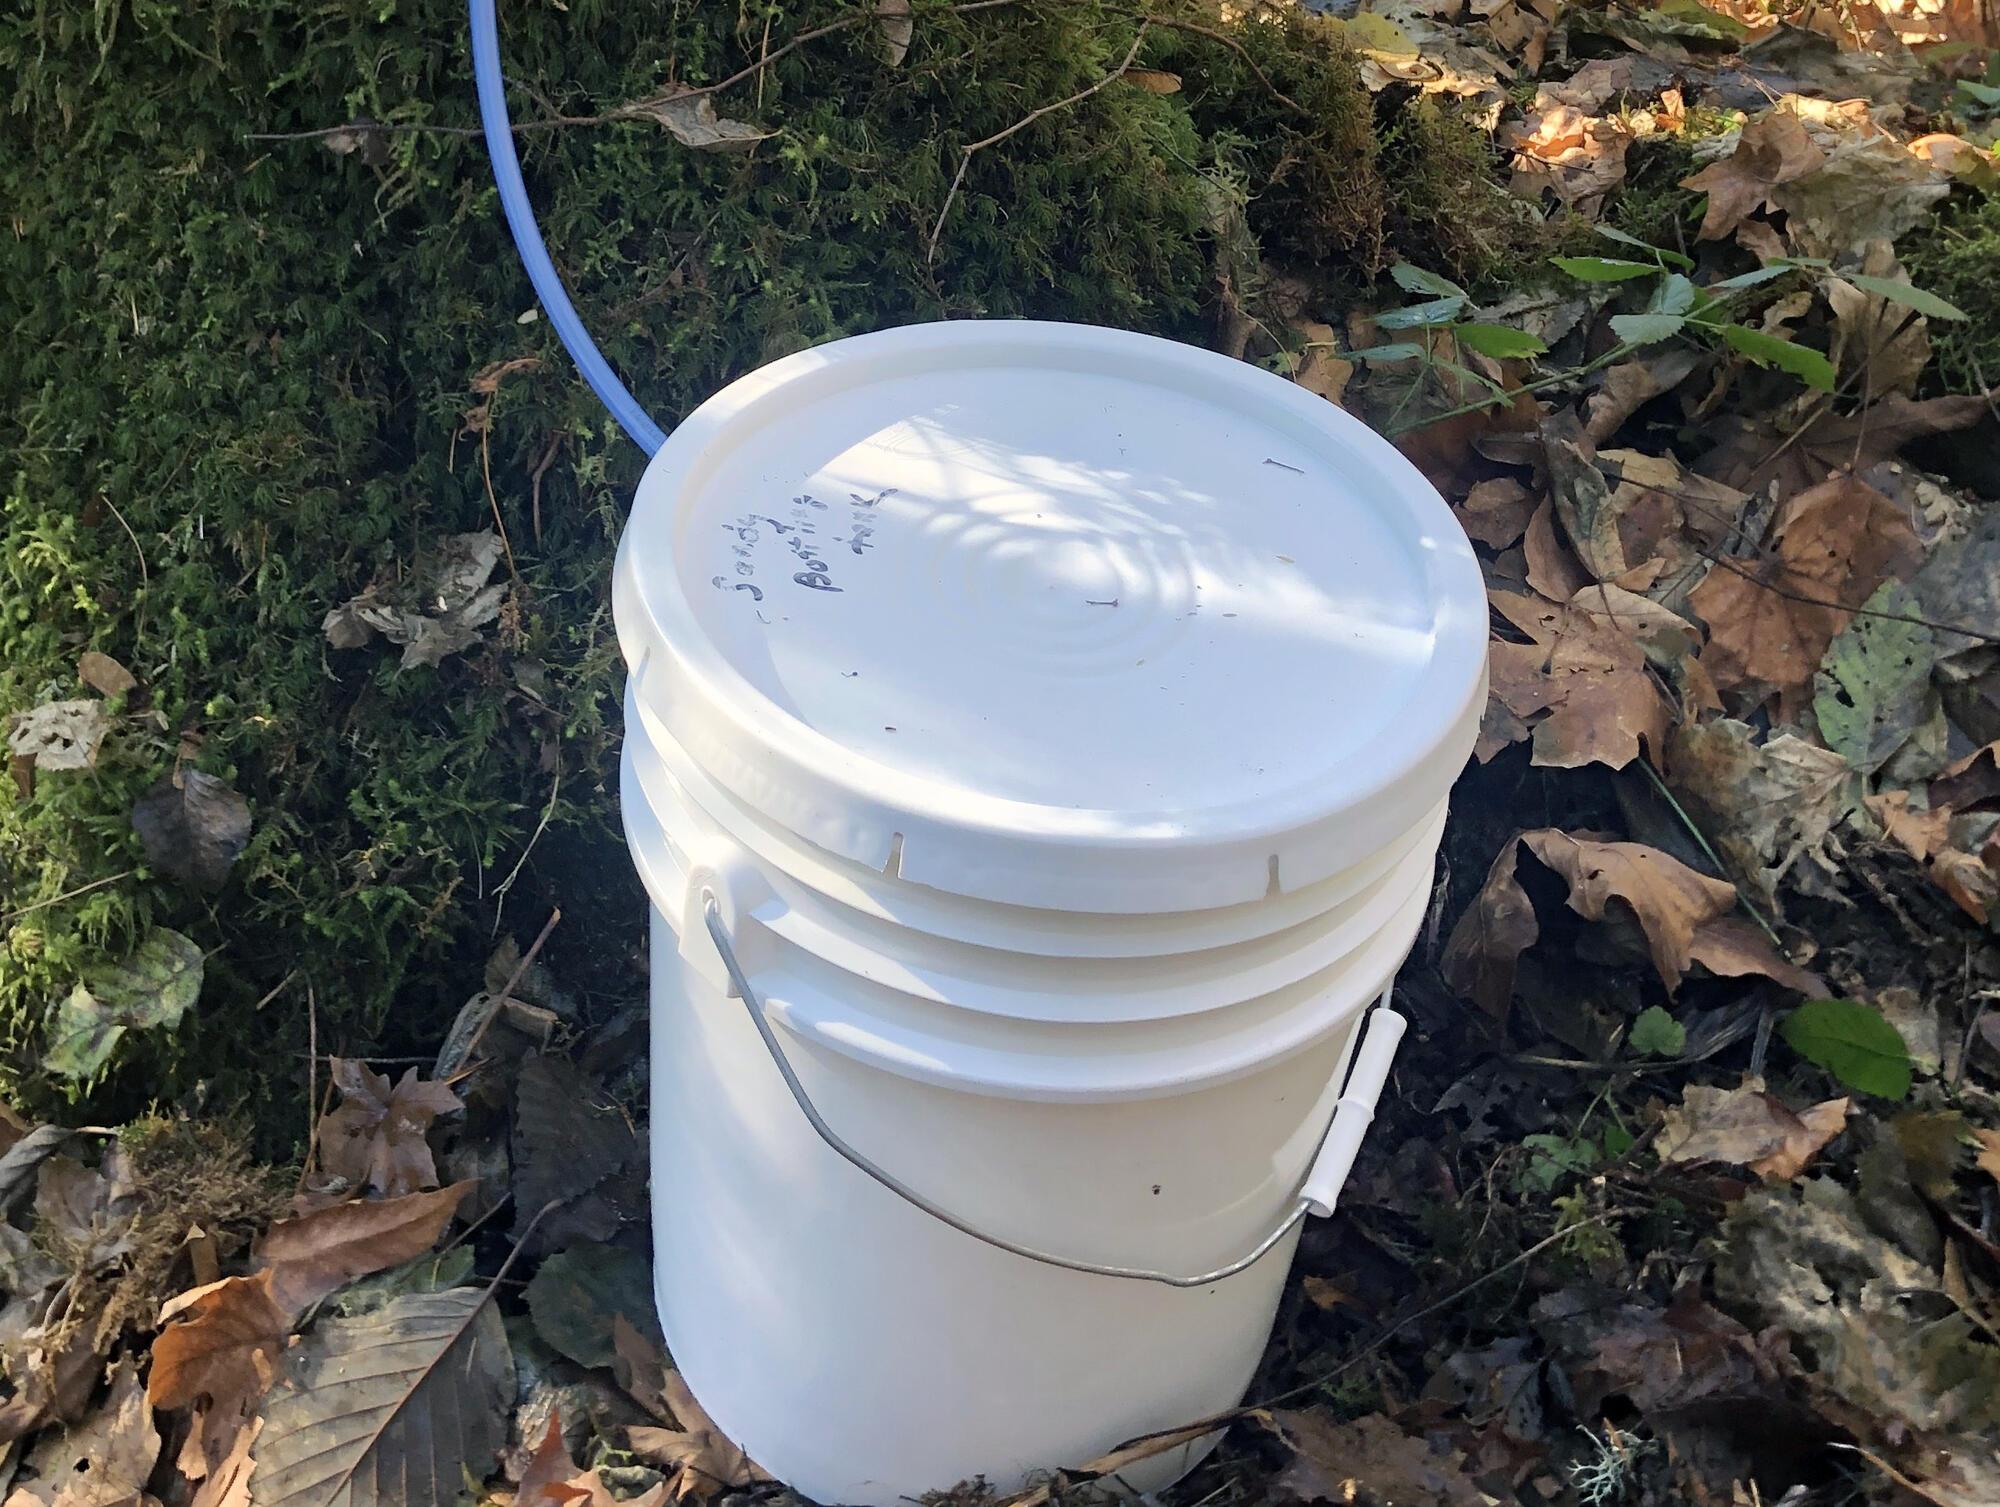
You can use food-grade containers at individual or clumps of trees to collect sap (bucket system), or you can connect trees throughout your landscape with vacuum tubing connected to a vacuum pump. A vacuum system will provide more consistent sap collection and sap volume, but it is more expensive.
The more taps you have, the larger and more expensive the equipment you will need.
The more taps you have, the larger and more expensive the equipment you will need.
The following estimates are for the Pacific Northwest. If you are referencing a sugaring manual from the Northeast, be aware that what they consider small operations are typically much larger than those of the Pacific Northwest.
Bucket system
- Hobby level: 1–25 tapped trees, $50–$200
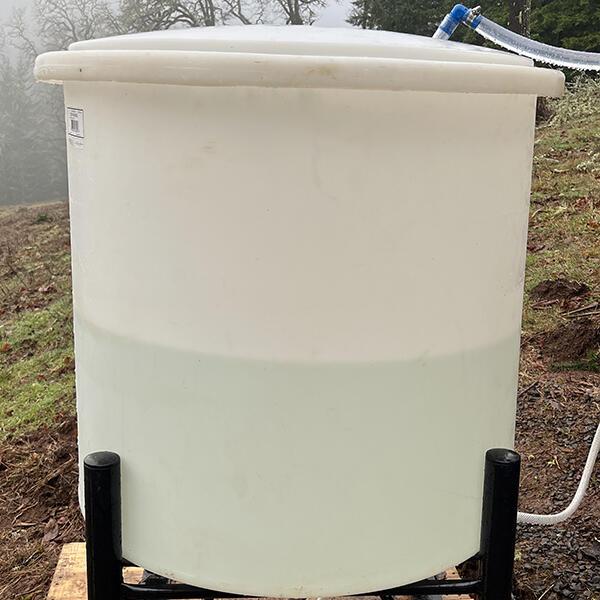
Vacuum tubing and pump systems
- Roadside farm stand or farmers market booth retail: 25–100 tapped trees, $200–$2,000
- Online store or community grocery store: $2,000–$10,000
- Wholesale supplier: $10,000+
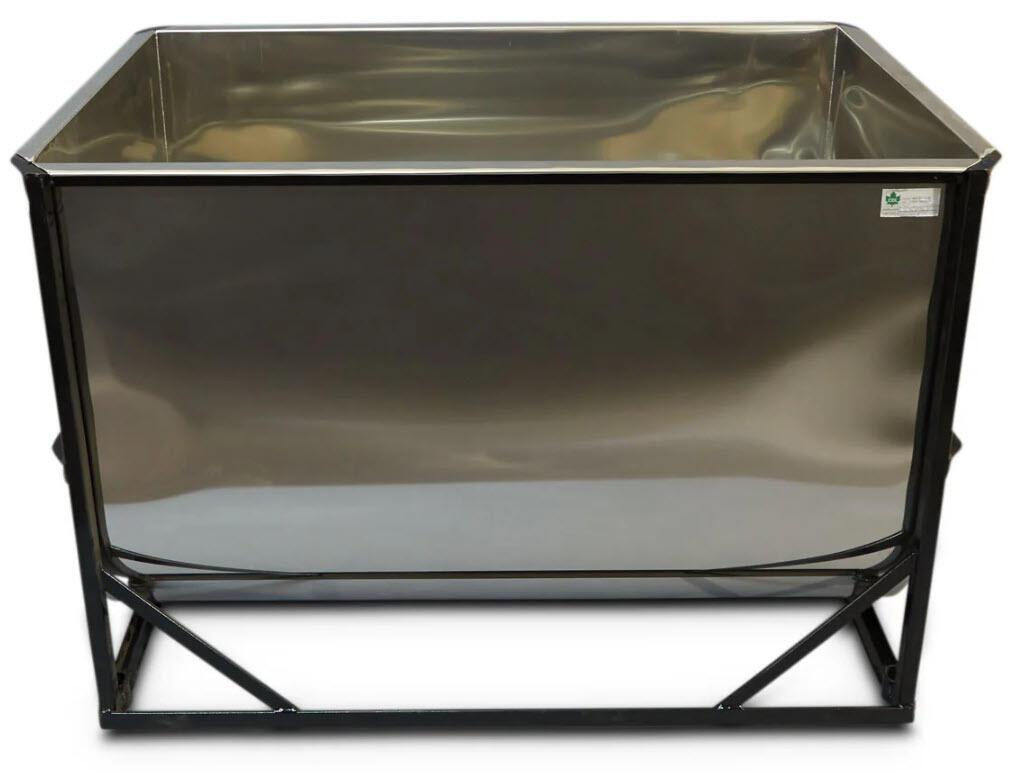
Can you use existing farm equipment?
Depending on what you farm, you may already have equipment that can be used for sugaring, and this can reduce start-up costs. However, all equipment used for sugaring must be made of food-safe materials.
- Plastics must be food grade and should be high-quality material like polyethylene. You can use high-quality, multi-use plastic containers from other food products, such as water service bottles. Avoid using single-use plastics (yogurt containers or gallon milk jugs) because they break down into microplastics.
- Stainless-steel pans manufactured for food use may be repurposed. Do not use pans that may contain lead solder, as the lead can leach into syrup during boiling. Stainless steel that has been scorched or has other signs of damage should be avoided because nickel and chromium leaching can exceed safe limits. Never reuse any containers, including equipment, that have previously held any nonfood-grade chemicals or other nonfood products.

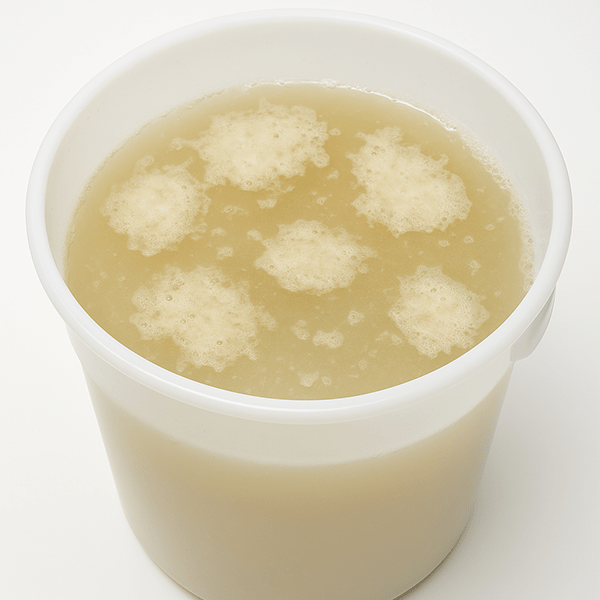
The secret to good syrup is speed
As soon as the sap leaves the tree, bacteria (and fungi, possibly) will start actively feeding on the sugar and other nutrients. If not controlled, your syrup will likely become sour, dark or ropey. For the highest quality syrup:
- Process sap into syrup as quickly as possible.
- On warm days (greater than 40°F), empty your sap collector twice a day.
- If you need to collect or store sap for more than a few hours, keep the sap as cold as possible. Store sap below 35°F (colder than an average refrigerator).
- Freezing is a good strategy if you need to keep sap more than 24 hours before processing, or if you want to accumulate sap for a batch processing of syrup. Unconcentrated sap freezes hard like water and thaws slowly. Concentrated sap (post-reverse osmosis) freezes like a popsicle and thaws faster. Bacteria will grow if you do not thaw quickly, so thaw in a heated kettle.
Processing sap into syrup
Where to evaporate?
Your work location depends on the amount of sap you are processing.
- If you are only boiling a few gallons of sap and have a powerful kitchen exhaust fan to remove sticky steam, you may be able to use your indoor stove.
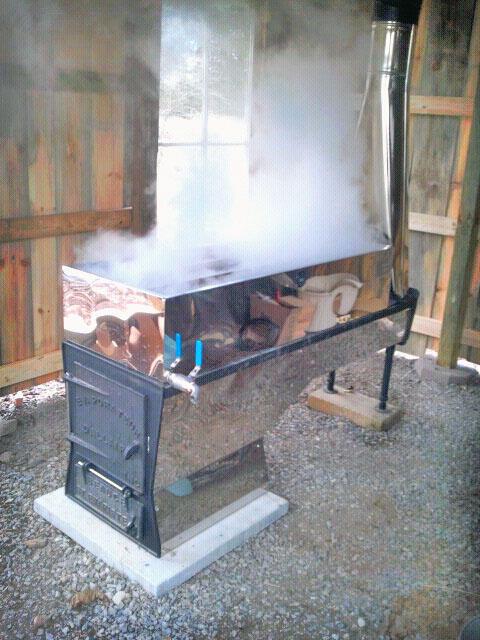
- If you are boiling many gallons of sap, consider using a large 15-gallon kettle on a propane burner or a flat evaporator pan over a heat source such as a wood or propane stove.
- The ideal boiling environment has clean, washable surfaces, a metal hood and a powerful exhaust fan to vent steam outside and away from structures.
- If you process outside, a pop-up cover or other setup that allows steam to escape can work. Manage the location of the heat source relative to the pop-up cover to prevent melting or fire risks.
- If boiling in a barn or shed, take care to prevent condensate from dropping into your syrup. The condensate can come into contact with bird or rodent feces present in the rafters, potentially contaminating your syrup.
Maintain a sanitary work area
Using best practices to create a sanitary processing environment is essential for protecting consumers of your product and protecting your business from liability. See “Resources” for information on creating and maintaining a sanitary processing environment. Tree sap collection, storage containers and processing equipment require diligent cleaning and sanitation to minimize yeast and bacteria growth that can reduce syrup quality.
A lengthy evaporation period
To make syrup, you will boil off over 98%–99% of the water volume, depending on the starting degrees Brix (percent sugar) of the sap. This will take many hours, so plan accordingly. The evaporation time can be reduced if you:
- Concentrate sap in a maple reverse osmosis machine prior to boiling. Starting with concentrated sap will reduce the total volume of water that has to be boiled off, saving you time and energy.
- Increase the surface area-to-volume ratio to maximize evaporation rates. Water evaporates faster in evaporator pans, which are shallow with a high surface area, than in a stock pot.
- Use a vacuum evaporator system to speed the boil. An evaporator can be an expensive capital investment; however, it can save considerable time and energy.
How do I know when syrup is finished?
The legal definition of maple and walnut syrup is a solids concentration of at least 66° Brix. The sap’s boiling temperature will increase as the water concentration decreases. For most of the boil, the boiling temperature will be the same as water (212°F/100°C at sea level). When most of the water has been removed, the boiling temperature will elevate rapidly. At 66° Brix, the boiling temperature will have increased by 7°F/4°C above the boiling temperature of water to 219°F/104°C (at sea level; this temperature will vary based on your elevation).

You can reduce the syrup to a higher Brix, but if you go too high (above 69° Brix) the texture will change and the sugar will crystallize.
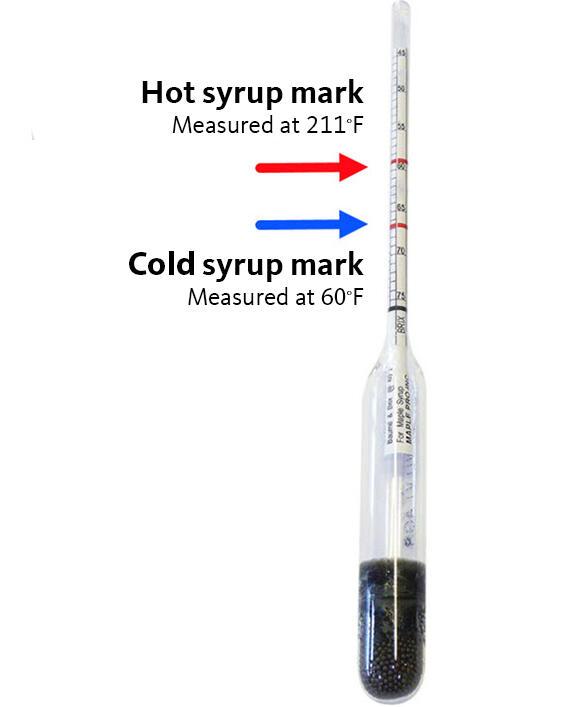
There are two devices that can be used to measure the number of degrees Brix: a refractometer and a hydrometer. Refractometers measure the solids content by measuring how light is bent as it moves through the syrup. Hydrometers measure syrup density. These instruments are available at fermentation shops and online. Make sure that you choose devices that measure within the appropriate Brix range for syrup. If using the hydrometer for finished syrup, it will need hot and cold marks to account for syrup density at different temperatures. Hydrometers are typically made of glass and fragile. Maple supply dealers sell hydrometers certified for syrup production.
Managing sap temperature for efficiency and quality
The highest-quality syrup comes from the highest-quality sap. Sap quality deteriorates when bacteria and yeast grow, so the goal is to minimize the amount of time that the sap is at a temperature where these organisms grow (between 35°F and 140°F). If your sap or syrup is sour or stringy (ropey), then the bacteria or yeast were not controlled.
There are two general strategies for accomplishing the boil:
- Batch evaporation: Start with a bulk volume of sap and boil it all down to make syrup; or
- Staged evaporation: Start with a bulk volume and add more sap after you have partially evaporated.
If you use the staged approach, you will need to manage the temperature and volume of the added sap, so that the system doesn’t stop boiling. A good strategy is to have a secondary kettle or pan to prewarm the “sap-in-waiting” to 150°F or hotter so you can add a reasonable volume without losing the boil. Leaving the sap at ambient temperature is a bad strategy because it will encourage bacteria and yeast to grow.
What if I run out of time to finish my syrup?
If you run out of time for sap processing, you can pause and save what you’ve boiled for another day. You will want to cool it as quickly as possible and keep it cold (refrigerated or frozen) until you are ready to process again.
A heat exchanger is the most efficient way to cool the hot concentrated sap. The most common heat exchanger used for small volumes is a wort chiller coil, which can be purchased from a fermentation store or online. These coils are copper or stainless steel and connect to your garden hose or another cold-water source.
Once your boiled sap is chilled, immediately refrigerate it if you are going to boil the next day. Freeze it if you are going to boil more than one day in the future.

All maple and walnut saps contain minerals, but the amount varies by species, soil richness and other factors. Sugar sands (aka niter) are dissolved minerals, such as calcium or potassium, in the sap that precipitate out as the sap is concentrated into syrup. The precipitation of these minerals can occur during evaporation and as the syrup cools.
The Northeast sugar maple industry routinely filters syrup before bottling to prevent the buildup of sugar sand in the bottom of containers. Sugar sand is generally considered to be an aesthetic problem; however, toxic metals such as arsenic and cadmium can occur in sugar sands in certain conditions. If heavy metals are present in the soil or water table where you tap trees, these chemicals may be present in the sugar sand. In this case, send syrup samples to a commercial testing lab to determine if toxins are present and whether they pose a risk to consumers.
The simplest way to remove most of the sugar sand is to decant it. Let your hot syrup cool in a heat-tolerant glass container such as a half-gallon canning jar for one hour. Once cooled, pour the syrup from container to container without disturbing the sediment. Then bring the syrup to 180°F–190°F to bottle it.
Another way to remove sugar sand is to filter hot syrup (at a temperature above 185°F) through synthetic washable cone filters (such as Orlon) specifically designed for maple syrup. Avoid cheesecloth or other natural filters because they cannot be safely cleaned to prevent bacterial contamination in future uses. You can buy maple cone filters from a maple equipment supplier. Keep the syrup hot as you are filtering, or it will prematurely clog. Always filter syrup into a sterile container.
Filtering efficiently with a synthetic filter takes practice to minimize waste. Most commercial producers use diatomaceous earth filter presses customized for the maple syrup industry. They are more expensive, but they are the industry standard for creating a clear product with no “sugar sand” precipitation.
Bottling syrup
The Cornell Maple Program recommends the “hot fill, flip and hold” practice. This method can be a source of confusion because USDA now considers it unsafe for many foods. It is safe for maple syrup, however, because syrup is a low-risk, low-water-activity food.
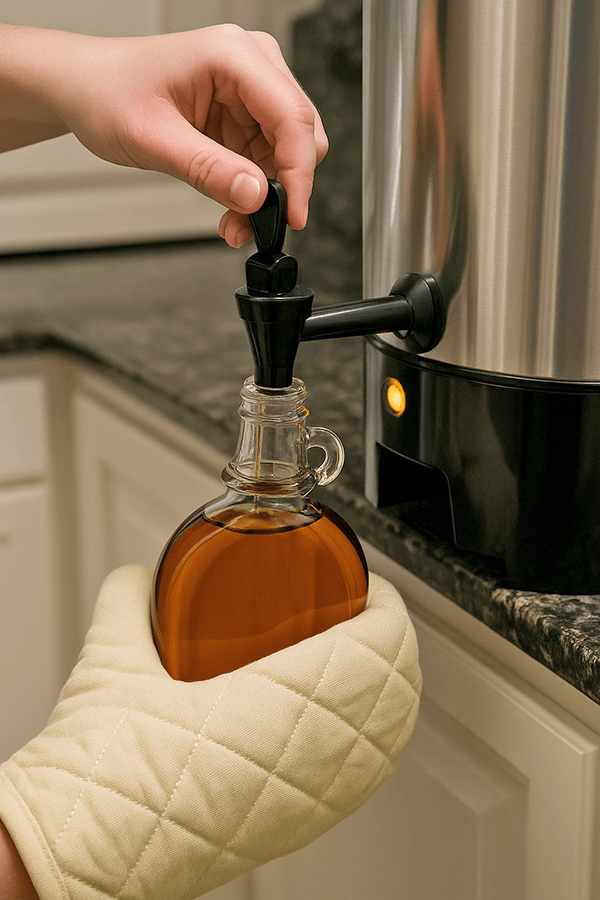
If you used a water bath canning method, it’s likely that cooling will result in “sugar sands” precipitating out, even if the syrup had previously been filtered. To correctly use the “hot fill, flip, and hold” method with maple syrup, heat your syrup to 180°F–190°F. An unused coffee urn with a spout at the bottom can be useful to keep it hot and easy to pour. Pre-sterilize glass containers by submerging them in boiling water for 10 minutes. Fill the presterilized, hot glass containers with hot syrup. Cap and immediately flip the container over to stand on its lid or lay it on its side. Cover with a thick towel to help hold the temperature of the syrup above 180°F for five minutes. This process will sterilize the lid and air headspace inside the jar.
Important notes
- Not all types of lids and caps are suitable for “hot fill, flip, and hold.” Traditional two-piece canning jar lids are NOT recommended for this process. Check manufacturer labels to confirm that lids or caps can be used for this type of process.
- If the syrup is below target density (less than 66°Brix) at the time of bottling, fermentation could happen during storage.
- If the syrup is not hot enough at bottling, a sufficient vacuum seal will not form, and mold may grow on the syrup surface during storage.
Cleaning and sanitizing equipment
Always use potable water for cleaning, diluting sanitizers and rinsing food-contact equipment.
Cleaning
- Wash sap procurement and processing equipment, including food-grade buckets and tanks, using dishwashing soap, followed by two hot water rinses, or by running the equipment through the dishwasher (if it fits and won’t be damaged by dishwasher “sanitize” cycle conditions).
- Visually inspect sap collection containers daily. Clean regularly with dish soap and hot water. Sanitize after cleaning.
- Follow the manufacturer’s instructions to clean and sanitize reusable filter bags after use.
Sanitizing
- Inspect maple industry-grade tubing for signs of bacterial or fungal growth such as cloudy white films or black or grey spots) and sanitize as needed. Recommended sanitizers for tubing include:
- A solution of 3%–6% hydrogen peroxide, which is labeled “food grade.” Low-concentration hydrogen peroxide will degrade rapidly once it has been opened. If using a concentrated hydrogen peroxide product, wear gloves and follow the manufacturer’s instructions for diluting to the appropriate concentration. No rinse is required after sanitizing tubing with hydrogen peroxide.
- Calcium hypochlorite is an affordable option for sanitizing tubing. This is a calcium-based bleach that is typically sold as a 68% calcium hypochlorite solution (DryTec Shock, for example). Dilute this solution in clean water according to the manufacturer’s instructions, typically to a concentration between 200 and 600 ppm. After sanitizing, a thorough clean-water rinse is required to remove chlorine salt residue that can contaminate the final product.
- Other food-safe surface sanitizers such as Star San can also be used on tubing. Follow the sanitizer label instructions carefully.
- Sodium hypochlorite (common household bleach) is not recommended, as it tends to leave a salt residue that attracts squirrels, which chew through the tubing.
- Most sanitizers are corrosive and can damage stainless steel with extended contact time, elevated concentrations and long-term use. For any stainless-steel surfaces, specifically processing equipment, follow manufacturer’s recommendations and sanitizer labels carefully.
Resources
- OSU Farm Direct Marketing Guide
- Oregon Department of Agriculture's Administrative Rules
- Food Establishment Standards and Standards for Retail Food Service Activities
- Division 25 sections specifically addressing farm direct exempted products:
- Sanitizer basics for the food industry, PNW 720.
- Cornell Maple Program
- North American Maple Syrup Council
- Maple Syrup State Associations
- Farrell, Michael. 2013. The Sugarmaker’s Companion, Chelsea Green Publishing.
- Perkins, Timothy D., Ed., et al. 2022. North American Maple Syrup Producers Manual, Third Edition, University of Vermont.
- OregonTreeTappers
- Oregon Maple Syrup Products Association
About the authors


Related publications


