CORVALLIS, Ore. – If you don’t have space for a garden – or even if you do – a terrarium may be in your future.
“Terrariums are an easy way to have some greenery,” said Brooke Edmunds, a horticulturist with Oregon State University Extension Service. “And they’re fun to make.”
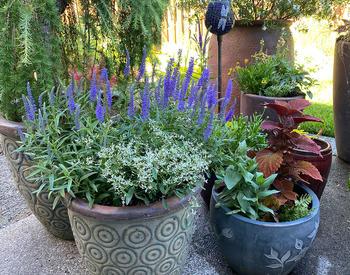
Not only that, a terrarium can take on the personality of the person who makes it. By using a variety of stones, moss, seashells, tiny pieces of driftwood, doll furniture and other accessories, you can put your stamp on it. Let kids gather their favorite things. They’ll get a kick out of helping.
Start out with a clear glass container. You’ve probably got one sitting around the house. If not, thrift shops are a great place to cruise looking for one that will cost you under $5.
Choose the smallest plants you can find. They don’t stay small forever; eventually you’ll have to replant your terrarium.
“You don’t want plants to grow too big and out of the terrarium too fast so get very small ones and don’t fertilize too much.,” Edmunds said. “But eventually they’ll need to be replaced. Think of them as fleeting beauties.”
Be careful about closed terrariums. Humidity will build up quickly and the plants can get diseases or algae may even grow. For sure, open glass terrariums are the best for beginners.
Forgo stones on the bottom of the terrarium where water pools and creates a perfect atmosphere for root rot. Instead, start with a layer of horticultural charcoal, which absorbs some of the runoff as well as odor and helps fight bacterial growth.
When you go shopping for plants, look for different textures and colors. If you decide on succulents or cactus, plant them in mix made especially for them and water much less than other plants – maybe once a month or less. Let the soil dry out completely before watering. Use a container with a large mouth to keep humidity at a minimum.
Have some fun with popular air plants (Tillandsias). With their spikey form and often white-gray foliage, they’ll most likely contrast nicely with the rest of your plant arrangement. Just place them in the terrarium and remove once a week to mist thoroughly or soak for 30 minutes.
“Air plants don’t live in soil, they live on trees or shrubs and get their nutrients and moisture from the air,” Edmunds said. “So, they don’t like to stay wet for long. Hang them upside down before putting them back.”
When buying air plants, look for those without brown tips. If they’ve got some brown leaves on the outside, that’s not much of a problem. Just clip them off. Brown tips, though, signal neglect and the plant will look bad and probably decline.
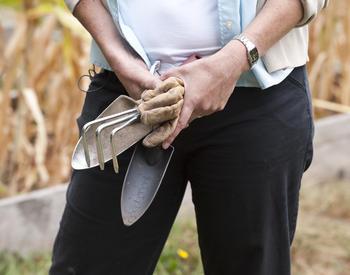
The same goes for regular plants. Look for healthy ones. If you don’t know, ask a person at the nursery to help you find plants that need the same watering and exposure needs. Little plants aren’t cheap – about $5 at most locations – so choose wisely.
Give it a go. You’ll be surprised at how easy it is.
HOW TO MAKE A TERRARIUM
Materials
Clear glass container. Check thrift or discount stores for good deals. You can choose any size but remember you’ve got to get your hand or tools through the opening to plant.
Horticultural charcoal, available at full-service garden centers.
Potting medium (Be sure to buy a soilless mix.)
Tiny plants (Available at some garden centers, but call first to avoid disappointment.)
Small decorative rock (From a craft store.)
Chopstick or large knitting needle.
Tiny accessories, either found items such as small pieces of driftwood, seashells, pinecones, children’s toys, or those purchased at craft stores or some garden centers (optional).
Preserved green moss. Live moss typically needs more water than the other plants in the terrarium. (optional).
Watering can with small diameter spout.
Water-soluble fertilizer.
Instructions
Wash and dry container.
Layer 1 to 1½ inches of charcoal on the bottom of the container.
Top with a 3- to 4-inch layer of potting soil, depending on the size of container and plant roots.
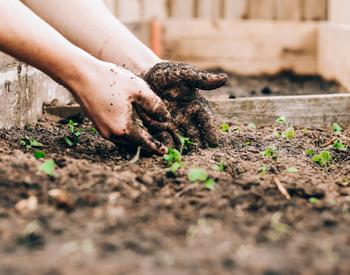
Use a chopstick, the topside of a knitting needle or your fingers to dig a hole for plants. Snug them in and tamp soil (the top of the knitting needle works great for this) down around roots.
Place small decorative rocks (available at craft stores) as the top layer. Thickness depends on personal taste, but don’t get too tall around the plants.
Finish with found objects and/or small accessories like bird houses, gnomes, wheelbarrows, etc., that are available at craft stores.
Water plants.
Place where it will get light appropriate for the plants you choose. Most will do well in an east window, though some are fine with more light.
Maintenance
Water once a week or less depending on size of container and light exposure. Stick your finger in up to your first knuckle to see if it’s dry. Use the watering can to target water to each plant.
Use a water-soluble fertilizer diluted to half strength every month. If you want your plants to stay small longer, forego the fertilizer.